
Contents
Setup Salesforce Communities Implementation
What are communities in Salesforce?
Communities are a hub where can your Employees, Customer, and Partners be gathered in one place. It helps users share information and collect updates from partners or external users to track the company. By using communities you can easily connect with internal users, portal users, and external users.
Implementation Guide to setup Salesforce Communities
Login to your account.
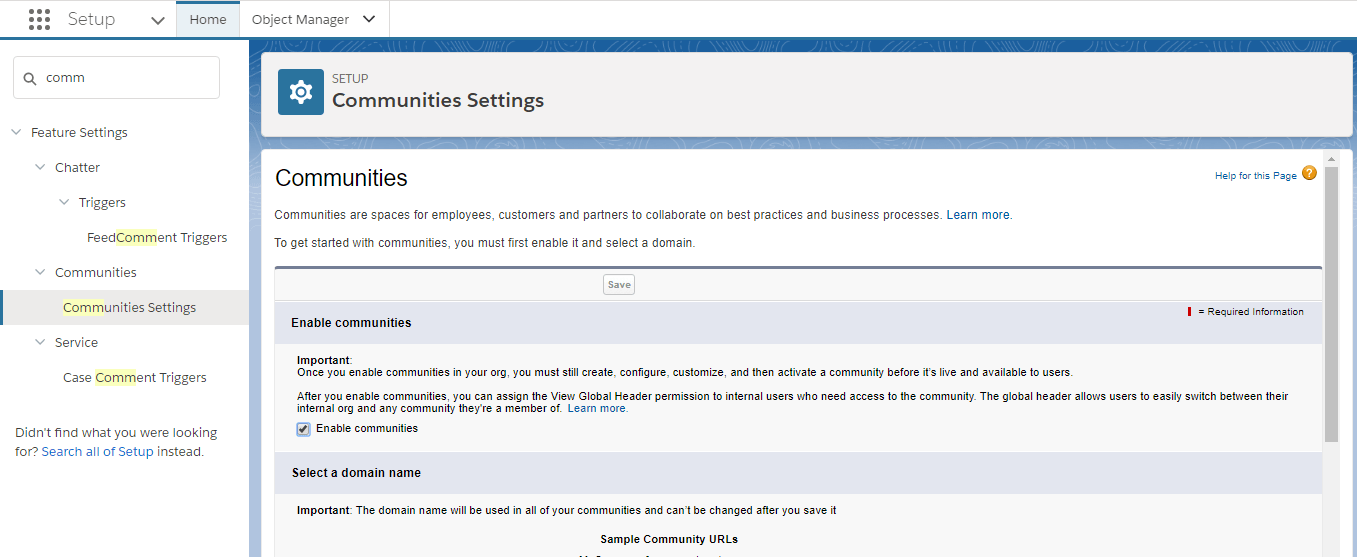
1. Click on setup and search for communities
2. Click on Communities Settings
3. Click on checkbox Enable communities
2. Click on Communities Settings
3. Click on checkbox Enable communities
4. Type your request custom domain and click on the check availability
5. if it is already taken you will get an error like the below image
5. if it is already taken you will get an error like the below image

6. If your domain is available like the below image click on save

you cannot change domain name once you have created. So we suggest you that keep you company name as be your portal domain name.
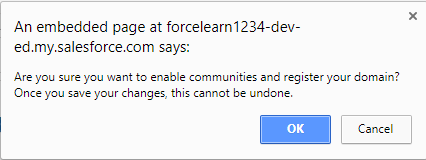
7.Click on OK on pop up
8. click on open and click on a new community.
9. Select any template you want to create. we have various template customer Account Portal, Customer Service, Partner Central.
9. Select any template you want to create. we have various template customer Account Portal, Customer Service, Partner Central.
10. Click on Get started to ahead with next stage.

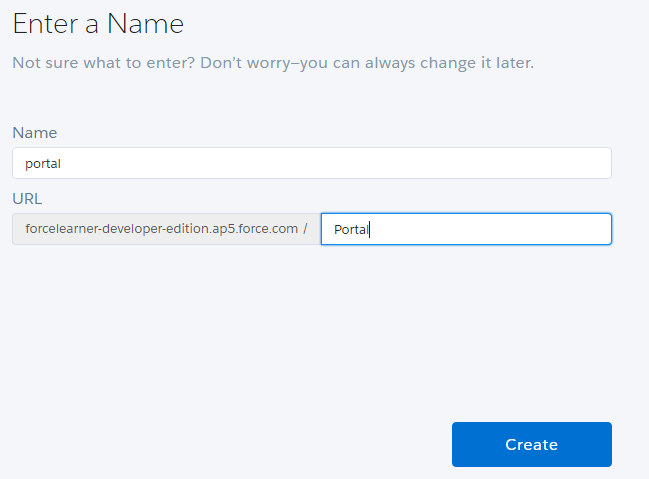
11. Type name of your community needs to be and the URL name is optional, If you are planning to create multiple portals for an organization. Make an optional name as Unique that needs to easily identify and click on create.
12. Wait till couple of minutes to generate community to create.
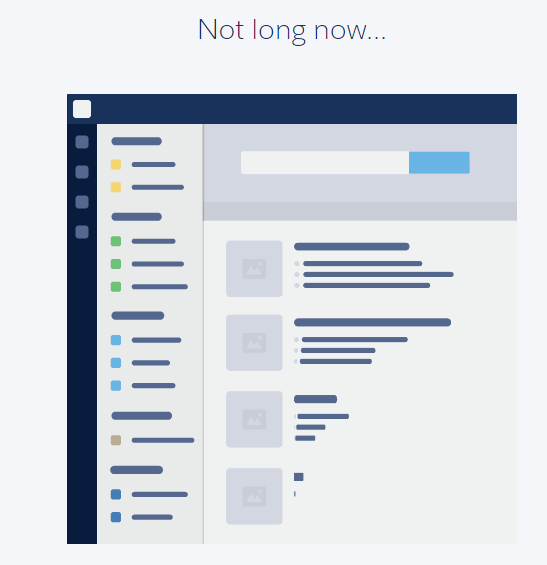
Hurry !!! Now you have created your new community.

Add comment